
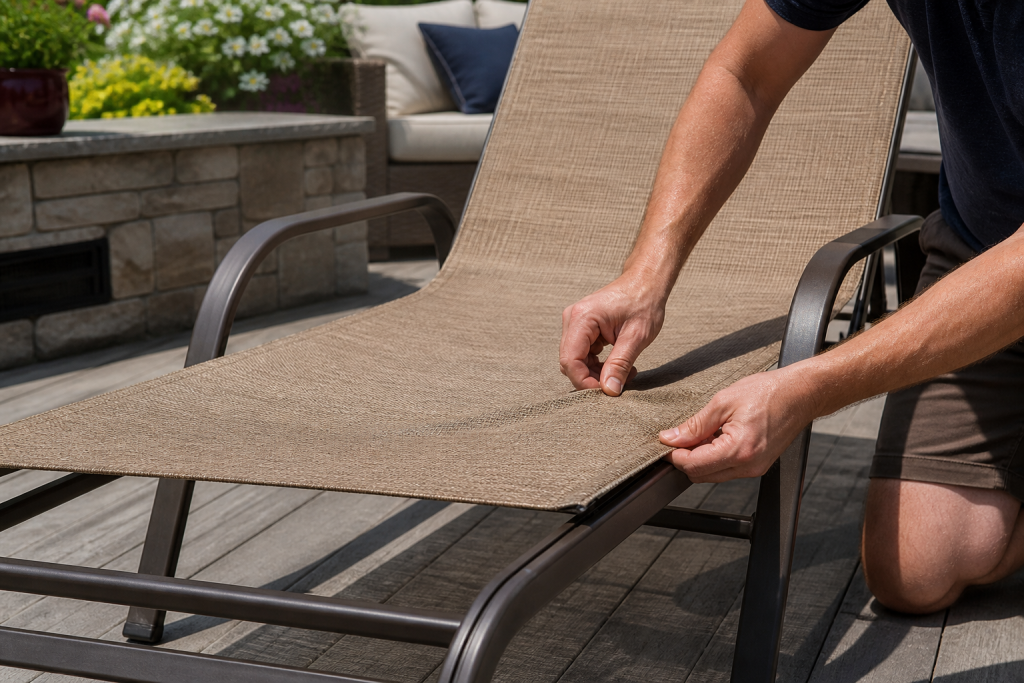
Your outdoor living space is an extension of your home, a place for relaxation and enjoyment. However, over time, even the most durable patio furniture can show signs of wear, especially the fabric slings on your beloved chaise lounges. A successful Chaise Sling Installation can completely revitalize these pieces, restoring both their comfort and aesthetic appeal. This DIY project, while requiring precision, is incredibly rewarding, allowing you to extend the life of your furniture without the cost of full replacement.
This comprehensive guide will walk you through the essential steps for a flawless chaise sling installation. We’ll cover everything from precise measurement and material selection to the actual installation process and crucial tips for a taut, professional finish. Prepare to transform your outdoor oasis with a fresh, new look that invites endless hours of relaxation.
Key Takeaways for Chaise Sling Installation
- Master the art of accurate measurement to ensure your new sling fits perfectly, avoiding common installation pitfalls.
- Understand the essential tools and materials required for a smooth and efficient chaise sling installation process.
- Follow a step-by-step guide for disassembling your old sling and installing the new one, ensuring a taut, professional finish.
- Learn critical tips for maintaining your newly installed chaise sling to maximize its longevity and appearance.
Preparing for Chaise Sling Installation: Measurement and Tools
Before embarking on your Chaise Sling Installation project, thorough preparation is paramount. This initial phase ensures you have the correct replacement sling and all the necessary tools at hand, making the entire process smoother and more efficient. Proper measurement is the single most critical step to guarantee a perfect fit and prevent frustrating re-dos.
Many individuals wonder, “How do you measure for a new chaise sling replacement?” The key is to measure the existing sling or the frame accurately. Measure the width of the sling from the center of one rail spline groove to the center of the other. For length, measure from the top of the sling rail to the bottom. Always measure twice to confirm your figures. When ordering, consider if your frame requires a specific type of sling, such as those with pre-sewn pockets or spline grooves.
Essential Tools for Chaise Sling Installation
“What tools are needed for chaise sling installation?” is a common question. Having the right equipment can make a significant difference in the ease and success of your project. Here’s a list of essential tools you’ll need:
- Screwdriver or Wrench Set: For disassembling the chaise lounge frame.
- Sling Spline Tool: Crucial for inserting the spline into the frame’s channels.
- Rubber Mallet: Helps to gently tap the spline into place.
- Vice Grips or Clamps: Essential for stretching the new sling taut.
- Measuring Tape: For accurate measurements of the old sling and frame.
- Utility Knife or Scissors: For trimming excess spline material.
- Protective Gloves: To protect your hands during the process.
- Cleaning Supplies: For thoroughly cleaning the frame.
Having these tools readily available will streamline your Chaise Sling Installation and help you achieve a professional result.
Choosing the Right Replacement Sling
“What kind of fabric is best for outdoor chaise sling replacement?” For outdoor furniture, durability and weather resistance are key. PVC-coated polyester mesh, often known by brand names like Textilene, is a popular choice. This material offers excellent UV resistance, quick-drying properties, and resistance to mildew, making it ideal for continuous outdoor exposure. Marine-grade acrylic is another robust option, known for its colorfastness and strength.
“Where can I buy replacement slings for chaise lounges?” Specialized online stores like Chair Sling Store offer a wide selection of custom-sized slings, various fabrics, and brand-specific options. They provide high-quality materials designed to withstand the elements and ensure a perfect match for your furniture. This is an excellent resource for anyone undertaking a DIY Chaise Sling Installation.
Master Your Chaise Sling Installation with [TRASH] Chair Sling Store!
Elevate your outdoor living space with premium replacement slings designed for a perfect, lasting fit. Our authoritative guides and quality products ensure your DIY upgrade is a resounding success.
Step 1: Disassembly and Cleaning for Chaise Sling Installation
The first practical step in any Chaise Sling Installation is the careful disassembly of your chaise lounge and a thorough cleaning of its frame. This stage is crucial for ensuring that your new sling has a clean, stable foundation and that the frame is free from any debris that could hinder the installation process or damage the new fabric.
Removing the Old Sling
“How do you replace a chaise lounge sling?” The process begins by carefully examining your chaise lounge frame. Most frames are held together by bolts or screws that secure the side rails to the end pieces. You will need your screwdriver or wrench set for this. Begin by loosening and removing the bolts that hold the frame together. As you do this, pay close attention to how the frame components fit together. Taking photos can be incredibly helpful for reassembly.
Once the frame is partially disassembled, you can usually slide the old sling out of the channels in the side rails. If the old sling is secured with spline, you may need to pry out the old spline first. This step might require a bit of force, especially if the sling has been in place for many years. Be patient and work carefully to avoid damaging the frame.
Thorough Frame Cleaning and Inspection
With the old sling removed, take this opportunity to thoroughly clean the entire chaise lounge frame. Use a mild soap and water solution to scrub away dirt, grime, and any mildew that may have accumulated. A stiff brush can be effective for stubborn areas. Rinse the frame thoroughly and allow it to dry completely before proceeding.
While cleaning, inspect the frame for any signs of damage, rust, or loose connections. Address any issues now, such as tightening loose bolts or applying rust-inhibiting paint, to ensure the frame is in optimal condition for your new Chaise Sling Installation. A clean and sturdy frame is essential for the longevity of your new sling.
Step 2: Inserting the New Sling: A Critical Stage of Chaise Sling Installation
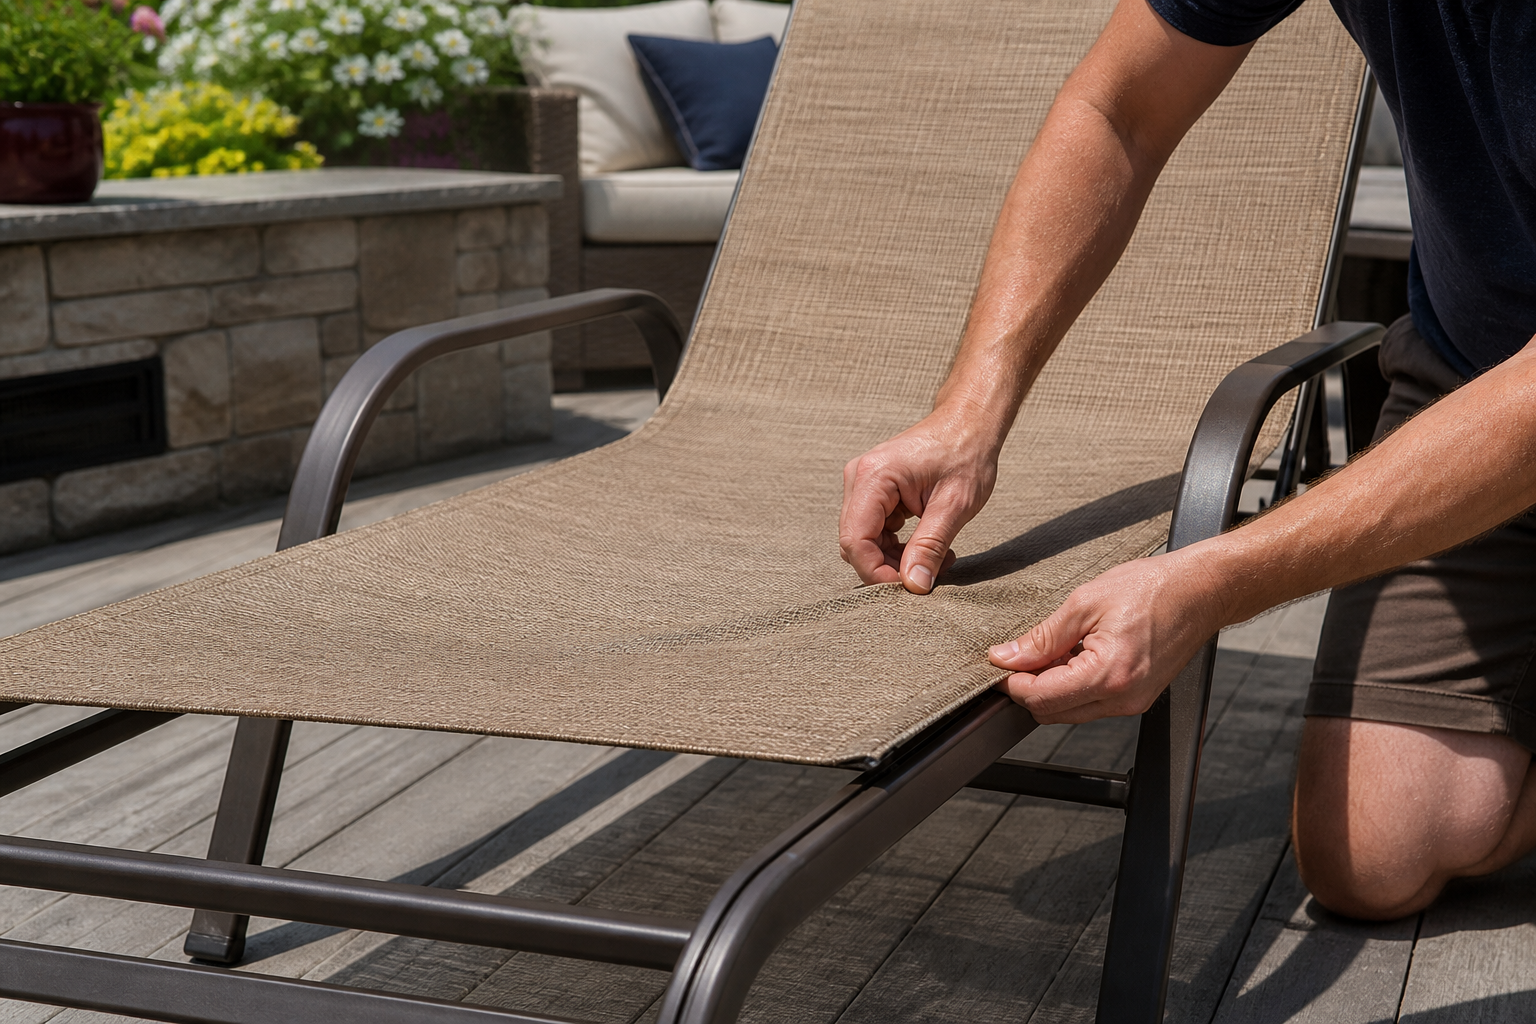
This is where your Chaise Sling Installation truly begins to take shape. Inserting the new sling requires a combination of careful alignment and strategic stretching to achieve a smooth, taut, and wrinkle-free surface. This step often requires patience and, ideally, an extra set of hands.
Aligning and Initial Insertion
Lay the new sling fabric flat. If your sling has pre-sewn pockets, slide the frame rails into these pockets. For slings that use spline, you will need to guide the edge of the fabric into the spline channels of the side rails. Start by inserting one edge of the sling into one of the side rails. It’s often easiest to start at one end and work your way down, ensuring the fabric remains straight and unbunched.
Once one side is partially in, you can begin to reassemble the frame loosely. This means attaching the end pieces to the side rails, but do not tighten the bolts completely yet. This loose assembly provides enough flexibility to work with the fabric while maintaining the frame’s general shape during the Chaise Sling Installation.
Stretching the Sling for a Taut Fit
This is arguably the most challenging part of the chaise sling installation. The goal is to stretch the fabric tightly across the frame before fully securing it. This prevents sagging and ensures a comfortable, supportive surface. You may need to use vice grips or clamps to pull the fabric taut. Attach one clamp to the fabric edge and another to the frame, then use a third clamp to pull the two together, stretching the fabric into the channel.
Alternatively, some people find it easier to use a sling spline tool or a rubber mallet to gently tap the spline into the channel, working from the center outwards. This helps to distribute the tension evenly. Work slowly, ensuring the fabric is stretched uniformly across the entire length and width of the chaise. A properly stretched sling is key to a successful Chaise Sling Installation.
Step 3: Tensioning and Reassembly for a Perfect Chaise Sling Installation
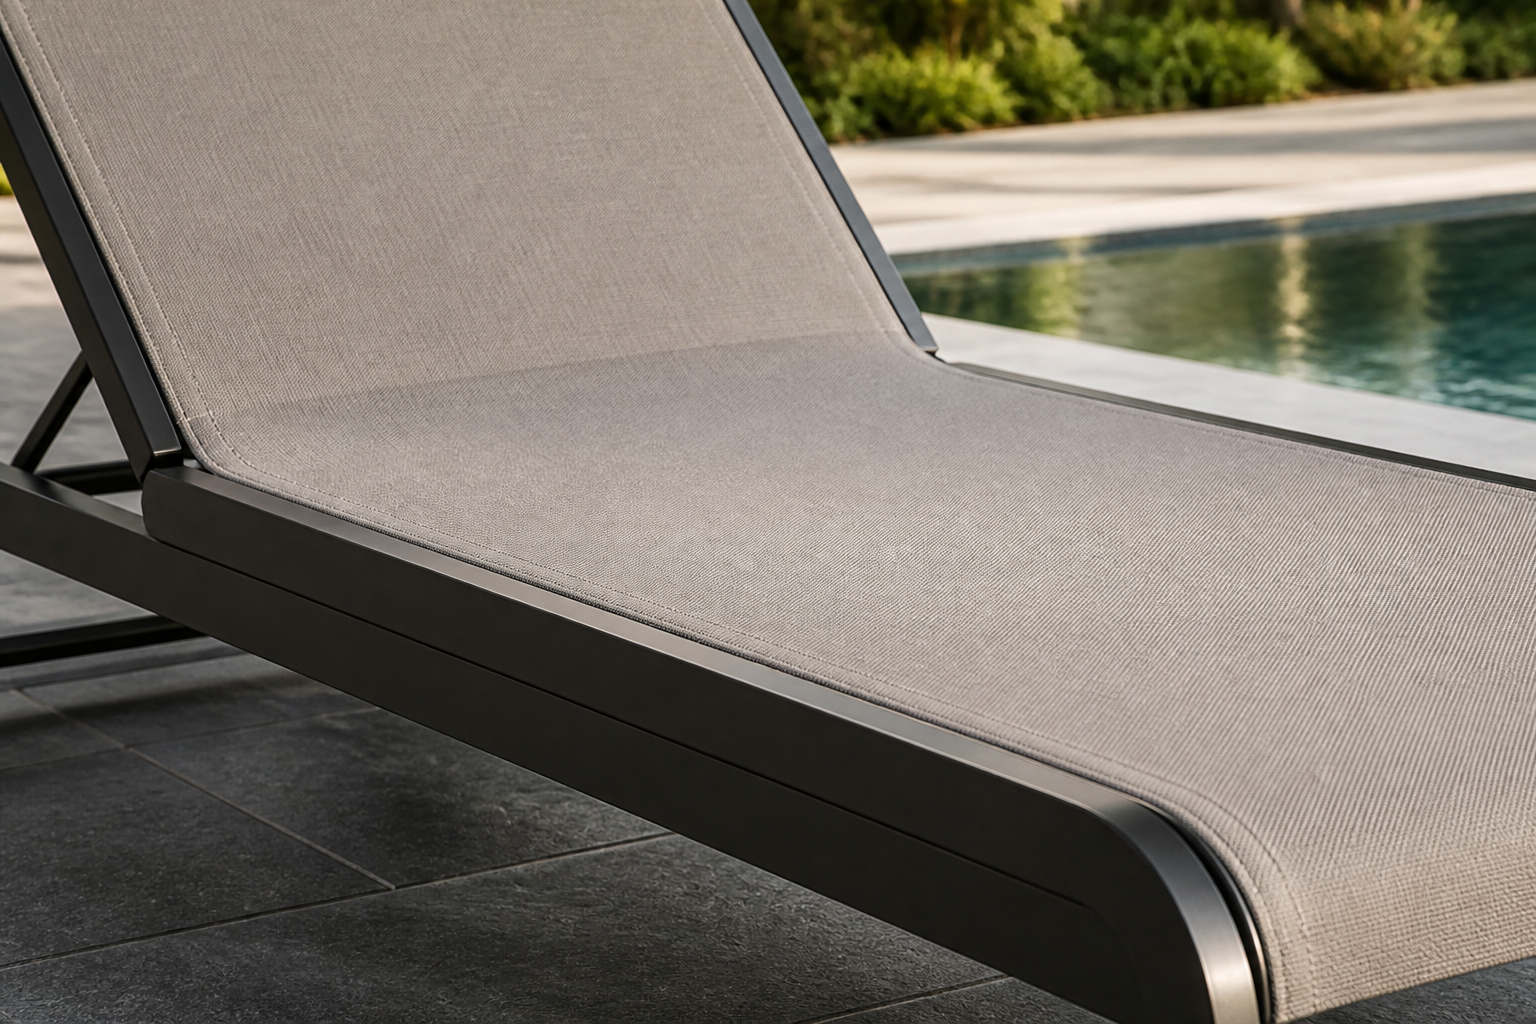
With the new sling inserted and initially stretched, the next phase of your Chaise Sling Installation involves fine-tuning the tension and securely reassembling the chaise lounge frame. This step ensures both the structural integrity of the furniture and the flawless appearance of your new sling.
Securing the Spline and Trimming
If your chaise uses spline, now is the time to fully secure it. Starting from one end, use your sling spline tool or rubber mallet to firmly push the spline into the channel, locking the fabric in place. Work your way down the entire length of both side rails, ensuring the spline is fully seated and the fabric is held securely. Once the spline is in, use a utility knife to carefully trim any excess spline material flush with the frame.
This meticulous attention to detail during the spline insertion is vital for preventing the sling from slipping or becoming loose over time. A well-secured spline is a hallmark of a durable and professional Chaise Sling Installation.
Final Frame Reassembly and Tightening
Once the sling is fully inserted and the spline is secured, it’s time to fully reassemble the chaise lounge frame. Carefully align all the frame components, referring to any photos you took during disassembly. Insert all bolts and screws, but do not tighten them completely just yet. This allows for minor adjustments as you ensure everything is perfectly aligned.
Once all components are in place, begin to tighten the bolts and screws gradually, working in a crisscross or alternating pattern. This helps to distribute the tension evenly across the frame and prevents warping. Tighten all fasteners securely, but avoid overtightening, which could strip threads or damage the frame. A properly reassembled frame is crucial for the stability and longevity of your chaise lounge after Chaise Sling Installation.
Step 4: Final Checks and Maintenance for Your Chaise Sling Installation
Completing the physical installation is a major accomplishment, but the final steps for a successful Chaise Sling Installation involve crucial checks and understanding long-term maintenance. These actions ensure your newly upgraded chaise lounge provides lasting comfort and beauty.
Performing a Post-Installation Inspection
After reassembly, take a moment to thoroughly inspect your work. Check the tension of the sling: it should be taut and firm, with no noticeable sagging or wrinkles. Run your hands over the surface to feel for any inconsistencies. Verify that all bolts and screws are securely tightened and that the frame is stable and wobble-free. Sit on the chaise lounge to test its comfort and stability. This final inspection helps catch any minor issues before they become larger problems.
If you notice any slight sagging, it might be due to insufficient stretching during insertion. In some cases, the fabric may naturally stretch slightly after initial use. For minor adjustments, you may be able to re-tension by carefully loosening and re-tightening frame bolts, or by gently working the spline. This attention to detail ensures a truly flawless Chaise Sling Installation.
Maintaining Your New Chaise Sling
To maximize the lifespan of your new sling, regular maintenance is essential. “What are the benefits of replacing a chaise lounge sling?” Beyond aesthetic appeal, a new sling provides improved comfort and extends the life of your furniture. To protect this investment:
- Regular Cleaning: Wipe down the sling regularly with mild soap and water to remove dirt, pollen, and environmental debris.
- Spot Treatment: Address spills and stains promptly to prevent them from setting.
- UV Protection: While most outdoor sling fabrics are UV-resistant, prolonged exposure to intense sunlight can still cause fading over many years. Consider using furniture covers when not in use, especially during peak sun hours.
- Winter Storage: If possible, store your chaise lounge indoors or under a protective cover during harsh winter months to prevent damage from extreme temperatures and moisture.
By following these simple maintenance tips, your newly installed chaise sling will remain vibrant and supportive for many seasons to come.
Common Mistakes to Avoid During Chaise Sling Installation
Even with careful planning, certain missteps can hinder a successful Chaise Sling Installation. Being aware of these common mistakes can help you navigate the process more effectively and achieve a professional outcome.
Inaccurate Measurements
One of the most frequent errors is incorrect measuring. If your sling is too short, it will be impossible to stretch and secure. If it’s too long or too wide, it will sag and look unprofessional. Always measure the existing sling or the frame’s interior dimensions meticulously, and double-check your figures before ordering. Remember, precise measurements are the foundation of a flawless Chaise Sling Installation.
Insufficient Stretching
“Why is my chaise lounge sling sagging after installation?” This is often a direct result of not stretching the fabric enough during the insertion phase. The sling needs to be very taut when installed, as it will naturally relax slightly with use. If it’s not stretched sufficiently from the start, it will quickly develop a saggy appearance. Don’t be afraid to apply firm, even tension across the entire sling.
Overtightening Bolts or Damaging the Frame
While it’s important to secure the frame firmly, overtightening bolts can strip threads, crack plastic components, or even warp metal frames. Work gradually and tighten fasteners until they are snug, but avoid excessive force. Similarly, be careful not to scratch or bend the frame during the disassembly or reassembly process. Protecting the frame ensures the longevity of your entire chaise lounge and simplifies future Chaise Sling Installation.
Not Cleaning the Frame
Skipping the frame cleaning step can lead to issues down the line. Dirt, grime, and mildew can degrade the new fabric over time, and debris in the spline channels can make insertion difficult or uneven. A clean frame provides a fresh start and helps the new sling last longer. A thorough cleaning is a small effort that yields significant benefits for your Chaise Sling Installation.
Is Professional Chaise Sling Installation Worth It?
While many individuals successfully perform DIY Chaise Sling Installation, the question often arises: “Is professional chaise sling installation worth it?” The answer depends on several factors, including your comfort level with DIY projects, the complexity of your furniture, and your desired outcome.
For those who lack the time, specific tools, or confidence to tackle the project, professional installation offers peace of mind. Professionals ensure a perfectly taut fit, use specialized tools for optimal results, and can handle complex frame designs that might challenge a DIYer. They also often provide warranties on their work. “What is the average cost to install a chaise lounge sling professionally?” Costs can vary widely based on location, furniture type, and the professional’s rates, but it generally includes labor and sometimes the sling material itself. “Can I get a quote for chaise sling repair and installation?” Most reputable services will offer a free quote.
However, for many, the satisfaction and cost savings of a DIY Chaise Sling Installation are significant. “Can I install a new chaise sling myself?” Absolutely! With the right tools, detailed instructions, and a bit of patience, it’s a manageable home improvement project. “How long does it take to install a chaise sling?” For most DIY enthusiasts, it can take anywhere from 1 to 3 hours per chaise, depending on experience and frame complexity. If you’re looking for “Who installs chaise lounge slings near me?”, a quick online search or inquiry with local patio furniture stores can provide options.
Ultimately, the decision rests on your personal preference and resources. Both DIY and professional routes can lead to a beautifully revitalized chaise lounge.
How do you replace a chaise lounge sling?
Replacing a chaise lounge sling typically involves removing the old sling by unscrewing or unbolting the frame, inserting the new sling into the frame’s channels, and then reassembling the frame. Special tools like a sling spline tool or clamps may be required to stretch the fabric for a tight fit.
What tools are needed for chaise sling installation?
Essential tools include a screwdriver or wrench set for frame disassembly, a sling spline tool or rubber mallet, vice grips or clamps for stretching, and possibly a measuring tape. Having an assistant can also be very helpful.
Can I install a new chaise sling myself?
Yes, many individuals successfully perform DIY chaise sling installation. With the right tools, detailed instructions, and a bit of patience, it’s a manageable home improvement project that can save on professional costs.
Where can I buy replacement slings for chaise lounges?
You can buy high-quality replacement slings for chaise lounges from specialized online stores like Chair Sling Store. They offer custom-sized slings, various fabrics, and brand-specific options to ensure a perfect match for your furniture.
What are common mistakes when installing a chaise sling?
Common mistakes include improper measuring leading to ill-fitting slings, insufficient stretching resulting in a saggy appearance, overtightening bolts causing frame damage, and not cleaning the frame thoroughly before installing the new sling.
How long does it take to install a chaise sling?
For most DIY enthusiasts, a chaise sling installation can take anywhere from 1 to 3 hours, depending on the complexity of the frame, your experience level, and whether you have an assistant.
What kind of fabric is best for outdoor chaise sling replacement?
For outdoor chaise sling replacement, durable, weather-resistant fabrics like PVC-coated polyester mesh (often called Textilene) or marine-grade acrylic are ideal. These materials offer UV resistance, quick-drying properties, and resistance to mildew.
Is professional chaise sling installation worth it?
Professional chaise sling installation is worth it if you lack the time, tools, or confidence for DIY, or if your furniture has a complex design. Professionals ensure a perfect, taut fit and longevity, saving you potential frustration and future repairs.
Your outdoor furniture is an investment in your comfort and lifestyle, and a successful Chaise Sling Installation is a powerful way to protect that investment. By following these 4 ultimate steps, you can confidently transform your worn-out chaise lounges into inviting havens of relaxation. From precise measurements to careful reassembly and ongoing maintenance, each stage contributes to a flawless DIY upgrade. The satisfaction of seeing your revitalized furniture, knowing you accomplished the task yourself, is truly unmatched. Embrace the process, and enjoy the renewed beauty and comfort of your outdoor space for years to come.
Learn more from authoritative resources: Consumer Reports and HGTV.