
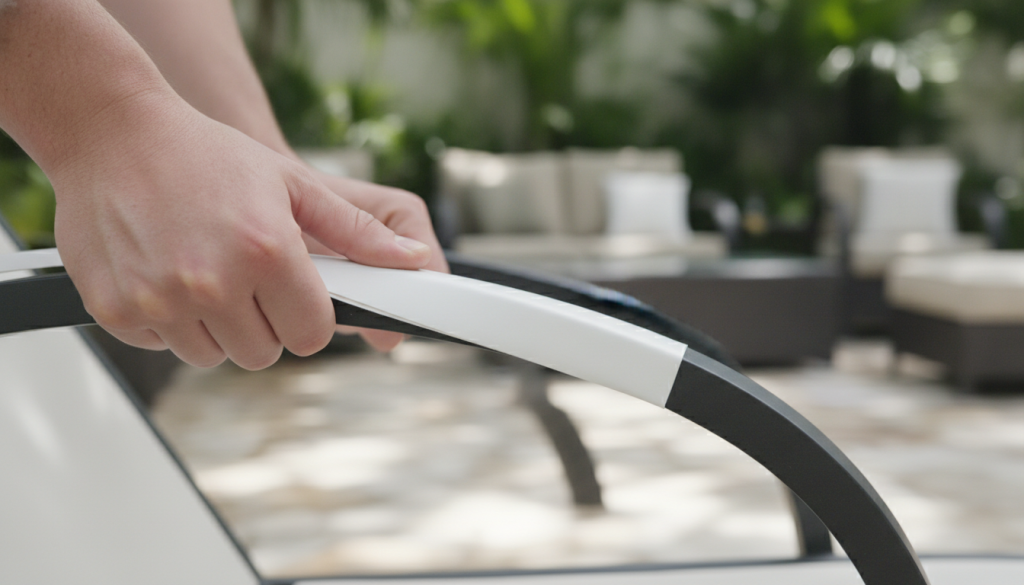
Your patio furniture endures the elements, providing comfort and style for countless outdoor moments. However, over time, even the most durable pieces can show signs of wear, especially their vinyl straps. Vinyl Strap Installation is the ultimate solution to breathe new life into your beloved outdoor chairs, chaises, and benches, restoring their functionality and aesthetic appeal. This essential DIY project not only saves you the cost of replacement furniture but also offers the immense satisfaction of a hands-on transformation.
In this comprehensive guide, we will walk you through 9 easy steps to achieve a flawless patio furniture refresh. We’ll cover everything from selecting the right materials and essential tools to mastering the techniques of measuring, heating, and securing your new vinyl straps. Whether you’re a seasoned DIY enthusiast or new to home improvement, this article provides the authoritative insights and practical tips you need for a successful and lasting Vinyl Strap Installation.
Key Takeaways
- Discover the cost-effective benefits of performing Vinyl Strap Installation yourself, extending the life of your patio furniture.
- Learn the precise methods for measuring and preparing vinyl straps to ensure a tight, professional fit.
- Understand the crucial role of heating vinyl straps for optimal pliability and secure attachment during installation.
- Identify the essential tools and high-quality materials needed to achieve durable and aesthetically pleasing results.
Why Consider Vinyl Strap Installation for Your Patio Furniture?
Over time, even the most robust patio furniture can show signs of wear, with vinyl straps often being the first component to degrade. Sun exposure, temperature fluctuations, and regular use can lead to brittle, cracked, or sagging straps, diminishing both the comfort and appearance of your outdoor pieces. Opting for new Vinyl Strap Installation is a smart and sustainable choice, offering numerous benefits beyond just aesthetics.
Understanding Why Vinyl Straps Break or Sag
Vinyl straps break or sag primarily due to prolonged exposure to ultraviolet (UV) radiation from the sun. UV rays degrade the polymer structure of the vinyl, making it brittle and prone to cracking. This process is accelerated by extreme temperature changes, harsh cleaning chemicals, and the constant stress of supporting weight. Understanding these factors highlights the importance of using high-quality, UV-stabilized vinyl for your new Vinyl Strap Installation.
Repair vs. Replacement: Can Vinyl Straps Be Repaired?
For minor issues like small tears or superficial damage, specialized vinyl repair kits might offer a temporary fix. However, if your straps are extensively cracked, severely stretched, or have lost their elasticity, full replacement is almost always the better option. Attempting to repair severely compromised straps can compromise safety and often leads to an unsatisfactory appearance. A complete Vinyl Strap Installation ensures uniform strength and a refreshed look.
The Cost-Effectiveness of DIY Vinyl Strap Installation
Replacing your entire patio furniture set can be a significant expense. The average cost to replace vinyl straps on a patio chair through professional services can range from $20-$50 per chair, depending on labor rates and the number of straps. By undertaking Vinyl Strap Installation as a DIY project, you primarily incur material costs, which are typically much lower, ranging from $5-$15 per strap. This makes it a highly cost-effective way to extend the life and enhance the appeal of your outdoor living space.
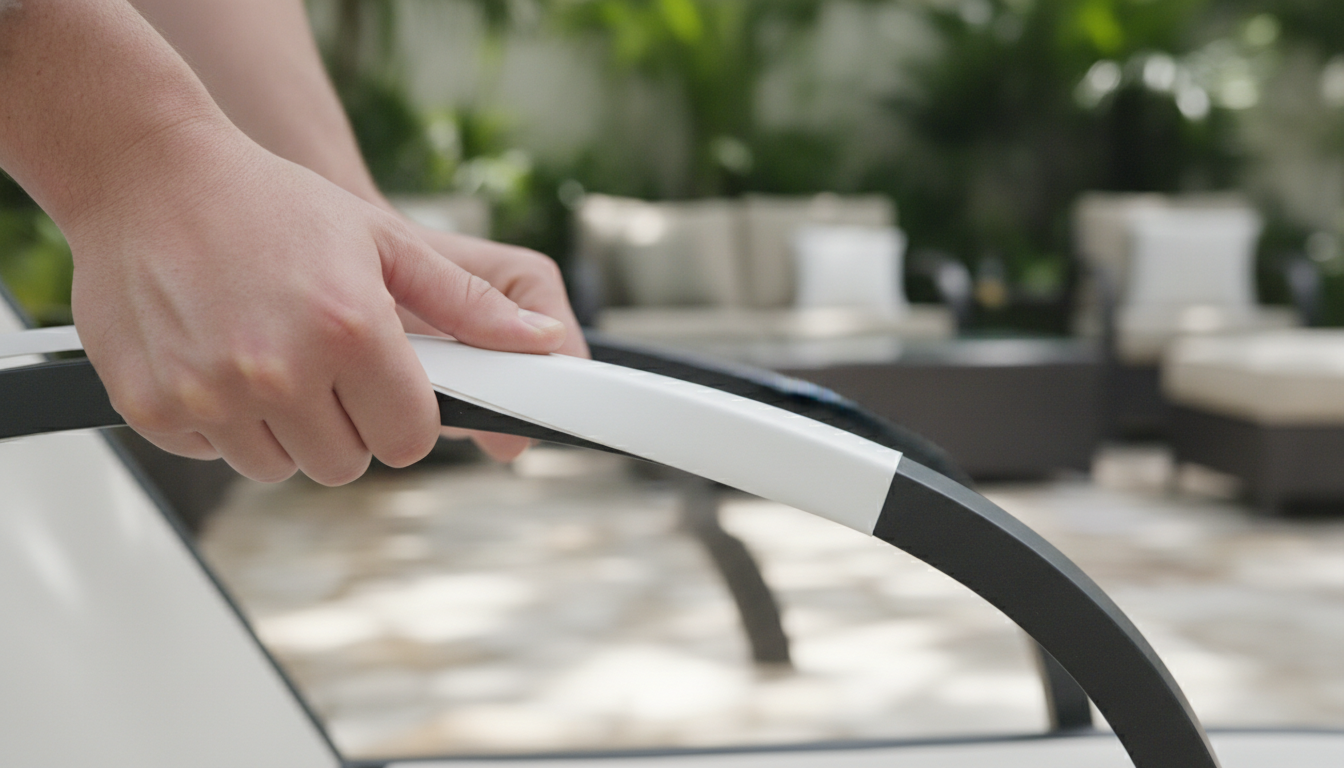
Preparing for Your Vinyl Strap Installation Project
Before you dive into the hands-on work of Vinyl Strap Installation, proper preparation is key to a smooth and successful outcome. Gathering the right tools, selecting the correct materials, and accurately measuring will save you time and ensure a professional finish. This section will guide you through the essential preparatory steps.
Essential Tools Needed for Vinyl Strap Installation
Having the right tools on hand makes the Vinyl Strap Installation process much easier and more efficient. Here’s a list of what you’ll typically need:
- Measuring Tape: For accurate strap length.
- Drill with Bits: If using rivets, for drilling new holes or enlarging existing ones.
- Pop Rivet Tool: Essential for securing straps with rivets.
- Flathead Screwdriver or Pry Tool: To remove old straps and clips.
- Large Bucket or Tub: For heating the vinyl straps in hot water.
- Sturdy Scissors or Utility Knife: For cutting vinyl straps cleanly.
- Gloves: To protect your hands from hot water and sharp edges.
Where to Buy Quality Vinyl Straps for Outdoor Furniture Repair
For successful outdoor furniture repair, sourcing high-quality vinyl straps is paramount. You can purchase specialized vinyl straps from dedicated retailers like Chair Sling Store. These stores offer a wide selection of colors, widths, and styles, including pre-cut straps and rolls of vinyl, ensuring you find the perfect match for your furniture. Investing in quality materials is crucial for the longevity of your Vinyl Strap Installation.
Choosing the Best Types of Vinyl Straps for Outdoor Use
When selecting vinyl straps, always opt for solid virgin vinyl straps that are specifically designed for outdoor use. These straps are typically UV-stabilized, meaning they are treated to resist fading, cracking, and degradation from sun exposure. High-quality vinyl also maintains its flexibility and strength across various weather conditions, ensuring your Vinyl Strap Installation will last for many years. Avoid cheaper, recycled vinyl, which tends to degrade quickly.
Accurate Measuring for Perfect Vinyl Strap Installation
Precise measurement is perhaps the most critical step in achieving a taut and professional Vinyl Strap Installation. To measure for new vinyl straps, use a flexible measuring tape to determine the distance between the two attachment points on your furniture frame. Once you have this measurement, subtract approximately 10% from the total length. This reduction accounts for the vinyl’s elasticity, ensuring that when the strap is heated and stretched, it will cool and contract to a perfectly tight fit.
Ready for Effortless Vinyl Strap Installation & a Stunning Patio Makeover?
Chair Sling Store provides premium-quality vinyl straps and all the parts you need to restore your outdoor furniture with confidence, ensuring lasting elegance and comfort.
The 9 Easy Steps for Flawless Vinyl Strap Installation
Now that you have your materials and tools ready, it’s time to begin the hands-on process of Vinyl Strap Installation. This step-by-step guide will walk you through each stage, ensuring you achieve a professional and durable finish for your patio furniture. While it requires some patience, most homeowners find Vinyl Strap Installation a moderately easy DIY project.
Step 1: Remove Old Straps and Clean the Frame
Begin by carefully removing all the old, damaged vinyl straps from your furniture frame. Use a flathead screwdriver or pry tool to unclip or unrivet them. Once the old straps are off, thoroughly clean the furniture frame. Remove any dirt, grime, or adhesive residue. A clean frame provides a better surface for your new Vinyl Strap Installation and prevents dirt from being trapped.
Step 2: Prepare Your New Vinyl Straps
Cut your new vinyl straps to the pre-measured lengths (remembering the 10% reduction). If you are using pre-cut straps, ensure they match your measurements. For rivet attachments, you may need to pre-drill holes at each end of the strap, about 1/2 inch from the edge. For clip attachments, ensure the clips are ready to be inserted.
Step 3: Heat the Vinyl Straps for Flexibility
This is a crucial step for successful Vinyl Strap Installation. Fill a large bucket or tub with very hot water, ideally between 180-200°F (82-93°C). Submerge the vinyl straps in the hot water for at least 5-10 minutes. Heating the vinyl makes it pliable and significantly easier to stretch, which is essential for achieving a tight, secure fit that will remain taut as it cools.
Step 4: Attach the First End of the Vinyl Strap
Working quickly while the strap is hot and pliable, remove one strap from the hot water. Attach one end of the strap to the furniture frame. If using rivets, insert the rivet through the pre-drilled hole in the strap and the corresponding hole in the frame, then secure it with your pop rivet tool. If using clips, simply slide the clip into the frame’s slot.
Step 5: Stretch the Strap Tightly Across the Frame
With the first end secured, firmly grasp the free end of the hot vinyl strap. Stretch it tightly across the furniture frame to the opposite attachment point. You’ll need to apply significant tension to ensure a snug fit. This stretching is easier when the vinyl is hot. Maintaining consistent tension is key for a uniform appearance across all your Vinyl Strap Installation efforts.
Step 6: Secure the Second End of the Vinyl Strap
While maintaining tension, attach the second end of the strap to the frame. Again, use a rivet tool for rivets or slide the clip into place. Ensure the strap is perfectly aligned and taut before finalizing the attachment. This step completes the primary attachment for each individual vinyl strap. This precise securing is vital for the overall integrity of your Vinyl Strap Installation.
Step 7: Repeat for All Straps
Continue this process for every strap on your patio furniture. Work systematically, one strap at a time, ensuring each is heated, stretched, and secured with the same level of tension. This consistency will result in a professional and aesthetically pleasing finish for your entire Vinyl Strap Installation project.
Step 8: Trim Excess and Inspect Your Work
After all straps are installed, carefully trim any excess vinyl that might be protruding from the attachment points using a utility knife or sturdy scissors. Then, thoroughly inspect your work. Check for any loose straps, uneven tension, or improperly secured ends. Make any necessary adjustments while the vinyl is still somewhat warm and pliable.
Step 9: Allow Straps to Cool and Tighten
Once all straps are installed and inspected, allow the furniture to sit undisturbed for several hours, or even overnight. As the vinyl straps cool, they will naturally contract and tighten further, creating a firm, supportive surface. This final tightening is what gives your patio furniture that refreshed, like-new feel after a successful Vinyl Strap Installation.
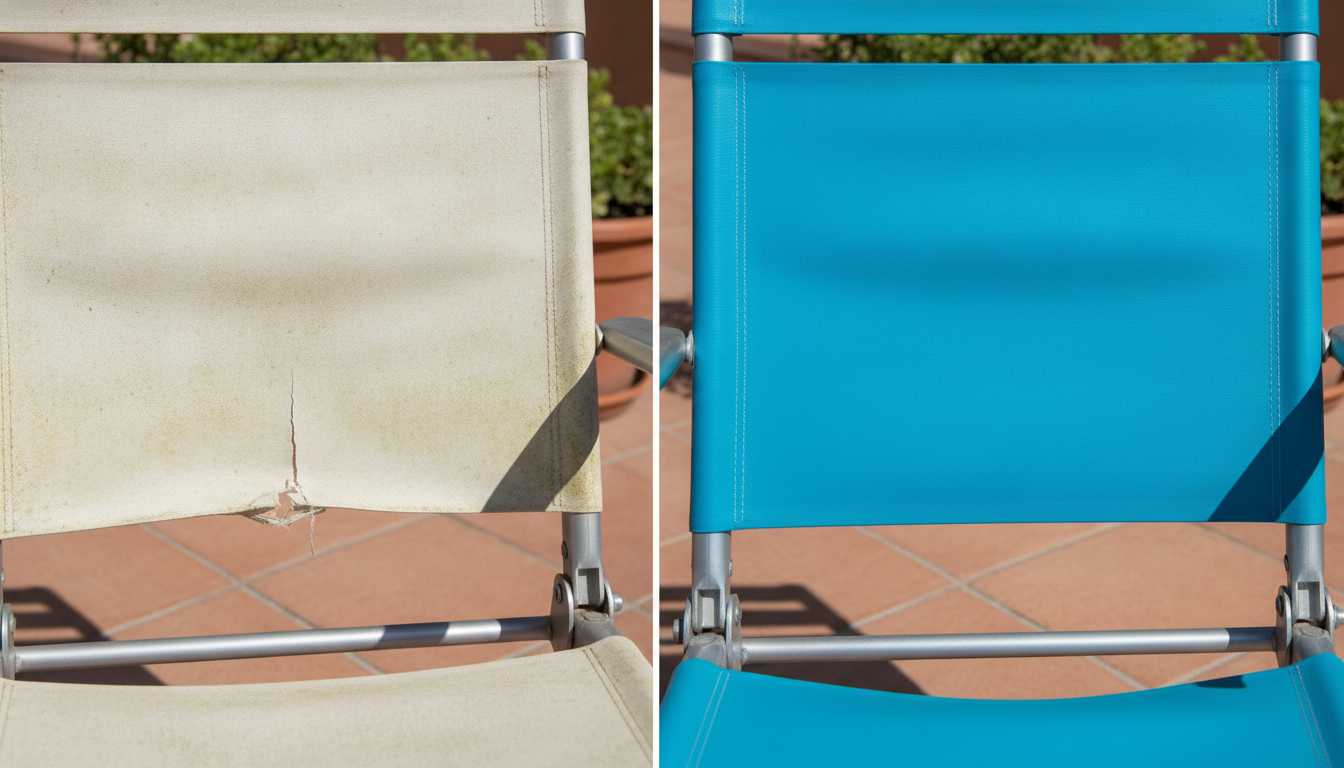
Ensuring Longevity and Professional Results with Vinyl Strap Installation
Completing your Vinyl Strap Installation is a rewarding achievement, but understanding how to maximize the lifespan of your newly refurbished furniture is equally important. Proper care and knowing when to seek professional help can ensure your patio pieces remain beautiful and functional for years to come.
How Long Do Newly Installed Vinyl Straps Last?
High-quality, UV-resistant vinyl straps, when properly installed and maintained, can typically last 7-15 years. Their lifespan is influenced by several factors, including the local climate, the frequency of use, and whether the furniture is stored or covered during off-seasons. Regular cleaning and occasional inspection can help identify potential issues early, extending the life of your Vinyl Strap Installation.
When to Consider Professional Vinyl Strap Installation Services
While Vinyl Strap Installation is a manageable DIY project, there are times when professional assistance might be beneficial. If you have particularly intricate furniture designs, a large volume of pieces, or simply prefer to have the work done by experts, many local patio furniture repair shops or outdoor living specialists offer professional services. You can search online for ‘patio furniture repair [your city/zip]’ or ‘outdoor furniture restoration services’ to find providers near you. For those in Coral Springs, Chair Sling Store also provides all the necessary materials and guidance for both DIY and professional-level repairs, ensuring your outdoor furniture remains in top condition.
Frequently Asked Questions About Vinyl Strap Installation
How to install vinyl straps on patio furniture?
Vinyl strap installation typically involves heating the straps in hot water to make them pliable, attaching one end to the furniture frame using a rivet or clip, stretching the strap tightly across the frame, and securing the other end. Proper measurement is key to achieving a taut, professional finish.
What tools are needed for vinyl strap replacement?
Essential tools for vinyl strap replacement include a measuring tape, drill with appropriate bit sizes, pop rivet tool (if using rivets), flathead screwdriver or pry tool for removing old straps, a bucket for hot water, and a pair of sturdy scissors or utility knife.
Where can I buy vinyl straps for outdoor furniture repair?
You can purchase high-quality vinyl straps specifically designed for outdoor furniture repair from specialized retailers like Chair Sling Store. They offer a wide range of colors, sizes, and styles, including pre-cut straps and straps by the roll.
Why do vinyl straps break or sag on patio chairs?
Vinyl straps break or sag primarily due to prolonged exposure to UV radiation from the sun, which degrades the material over time, making it brittle. Other factors include exposure to harsh chemicals, excessive weight, extreme temperature fluctuations, and general wear and tear.
Who provides professional vinyl strap installation services?
Many local patio furniture repair shops, outdoor living specialists, or even some handyman services offer professional vinyl strap installation. For DIY enthusiasts, retailers like Chair Sling Store provide the necessary materials and guides for self-installation.
What is the average cost to replace vinyl straps on a patio chair?
The cost to replace vinyl straps on a patio chair varies depending on whether you DIY or hire a professional. DIY costs are typically for materials (straps, rivets/clips), ranging from $5-$15 per strap. Professional services might charge $20-$50 per chair, depending on the number of straps and labor rates.
How do you measure for new vinyl straps?
To measure for new vinyl straps, carefully measure the distance between the two attachment points on the furniture frame. Then, subtract approximately 10% from this measurement to account for the strap’s elasticity and ensure a tight, secure fit after installation.
Is vinyl strap installation a difficult DIY project?
Vinyl strap installation is generally considered a moderately easy DIY project. While it requires some patience and precision, especially with stretching the straps, most homeowners can achieve excellent results with basic tools and a good instructional guide.
What types of vinyl straps are best for outdoor use?
For outdoor use, solid virgin vinyl straps are highly recommended. These are UV-stabilized, resistant to fading, cracking, and mildew, and maintain their flexibility and strength in various weather conditions, ensuring long-lasting performance.
Do I need to heat vinyl straps before installation?
Yes, heating vinyl straps in very hot water (around 180-200°F or 82-93°C) for several minutes is crucial before installation. This makes the vinyl pliable, allowing it to stretch more easily and achieve a tight, secure fit that will contract and remain taut as it cools.
How long do newly installed vinyl straps typically last?
High-quality, UV-resistant vinyl straps, when properly installed and maintained, can typically last 7-15 years. Their lifespan is influenced by climate, frequency of use, and whether the furniture is stored or covered during off-seasons.
Where can I find vinyl strap installation services near me?
To find local vinyl strap installation services, you can search online for ‘patio furniture repair [your city/zip]’ or ‘outdoor furniture restoration services.’ Local hardware stores or outdoor living retailers might also provide recommendations or referrals.
What are the steps for attaching vinyl straps to a furniture frame?
The steps involve heating the strap, attaching one end to a pre-drilled hole or clip on the frame, stretching the heated strap across the frame with firm tension, and then securing the other end with a rivet, screw, or clip. Ensure consistent tension for a uniform look.
Can vinyl straps be repaired instead of replaced?
Minor tears or small sections of damage on vinyl straps are sometimes repairable with specialized vinyl repair kits or patches. However, for significant damage, extensive cracking, or loss of elasticity, full replacement of the strap is recommended for safety and aesthetics.
What are the benefits of replacing old vinyl patio furniture straps?
Replacing old vinyl patio furniture straps offers numerous benefits, including restoring comfort and support, enhancing aesthetic appeal, extending the lifespan of your furniture, increasing safety by eliminating brittle or broken straps, and being a cost-effective alternative to buying new furniture.
Your successful Vinyl Strap Installation is more than just a repair; it’s a revitalization of your outdoor living space. By following these 9 easy steps, you’ve not only extended the life of your patio furniture but also added a touch of personal craftsmanship to your home. From understanding why straps degrade to mastering the art of heating and stretching, you now possess the knowledge to achieve a flawless refresh.
Embrace the renewed comfort and aesthetic appeal of your patio furniture, knowing that your meticulous Vinyl Strap Installation will provide lasting enjoyment. This project underscores the value of DIY efforts, transforming worn-out pieces into vibrant, inviting outdoor essentials. Enjoy your beautifully restored patio!
Learn more from authoritative resources: Consumer Reports and HGTV.